This is our third LEGO speed build time-lapse video. Just like the second time, I made a few changes to try and improve the quality of the video. We have no real experience in video, so this has been a fun learning experience for us. If you read the text with each of the 3 videos, you will see the things I changed from one video to the next. Click here to check out our first attempt. This video is of the Star Wars First Order Heavy Assault Walker, set number 75189. The total real-time duration from opening the first bag to placing the final brick is roughly 6 hours, 6 minutes. This is compressed into 3 minutes of this 4-minute video.
How I Made This Speed Build Time-Lapse Video
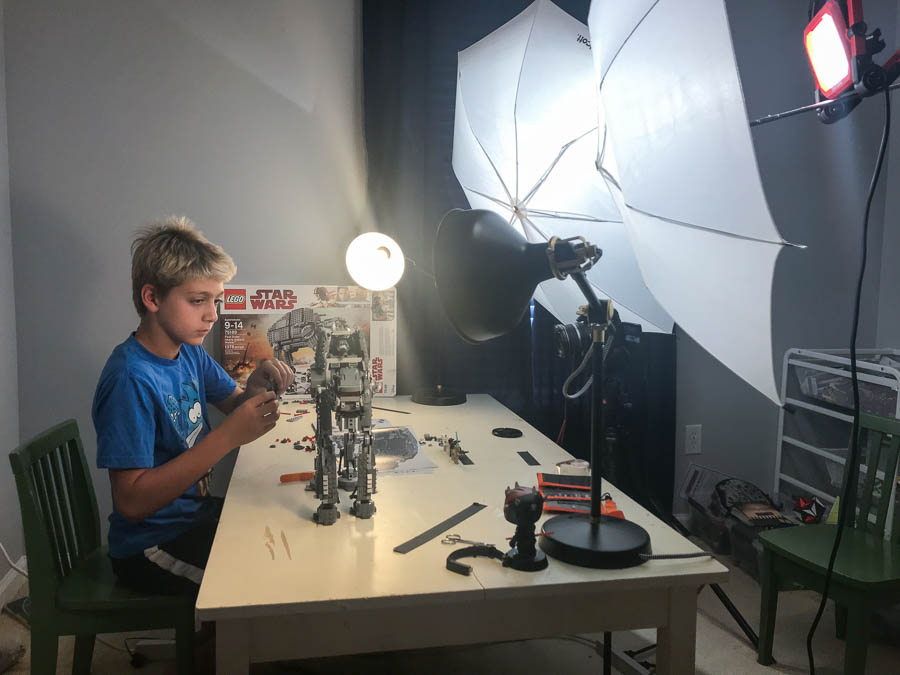
We’ve moved since the last time we made a Lego Speed Build video, and my son’s bedroom is a little smaller than the last one. So it was a little more difficult figuring out how to set up our makeshift studio without disrupting his daily life over a few days. Once we figured that out, we got started with the video. I should point out that he originally wasn’t going to make the video with this one, but after he opened 3 of the bags he decided to do the video. So you can see early in the video there are 3 Zip-lock bags that he pulls LEGOs from.

Lighting
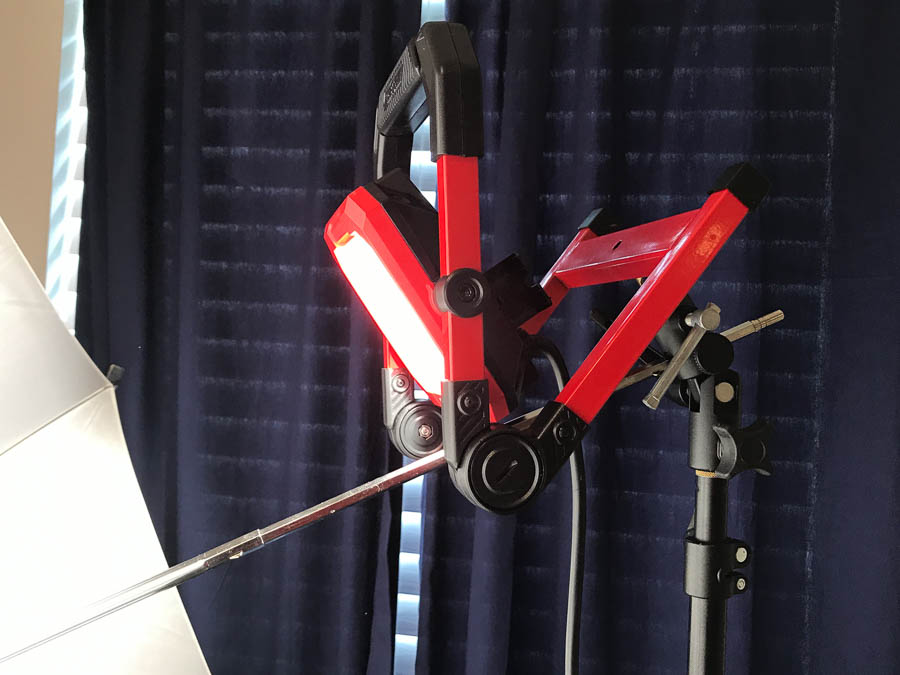
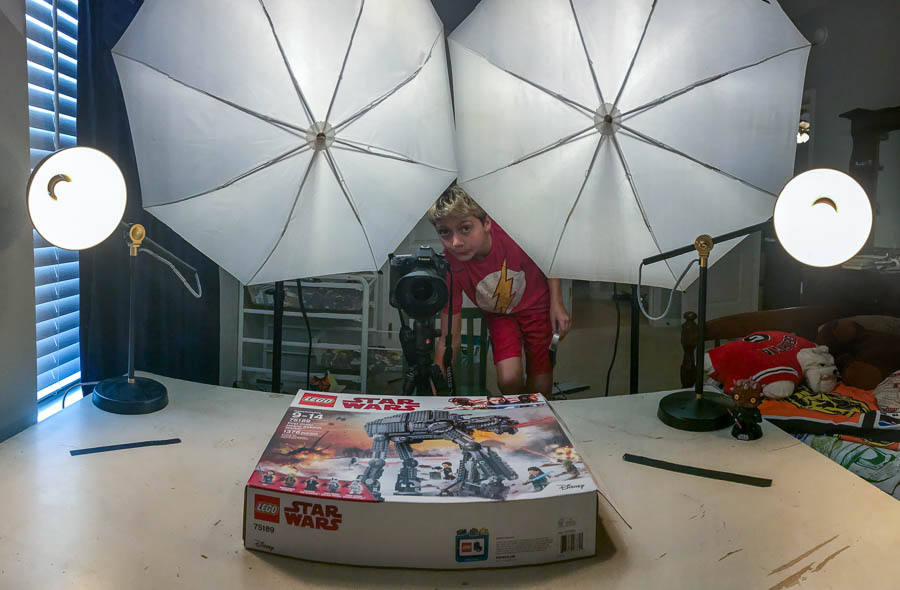
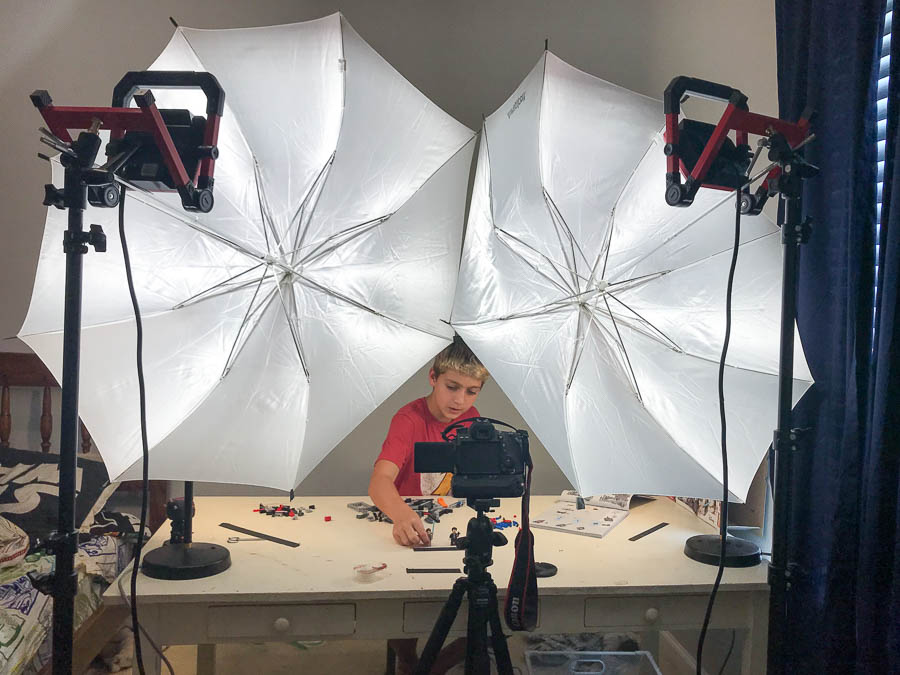
I’m starting with lighting this time because that’s where the biggest change was from last time. Our first two videos weren’t lit well enough using the IKEA lights, so I added yet even more light. I stuck with the DIY route though, since it was way cheaper than adding actual video lights. Several weeks before shooting this video, I had purchased a couple Craftsman LED shop lights from Lowes. I didn’t have video lighting in mind at the time but decided to give them a try when we started this one. Since they were super bright, I balanced them on a couple light stands and used umbrellas to diffuse and soften the light. The result was a video that was a little brighter than the last, using virtually the same camera settings. I don’t think I’ve nailed this yet, but I’m getting closer each time. 🙂

Camera
Most of this is no different than last time. I used the trusty old Canon 70D with the Canon EF-S 10-22mm lens, and a 3rd party battery grip. Once I had the frame composed, I moved the gaffers tape (still stuck to the table from the previous video) to the outside borders of the frame. Then I set the lens to 10mm, locked in the focus, and switched to manual focus so it wouldn’t change during the shoot. The video settings were 1920×1080 at 30fps IPB, with each frame being 1/60 sec at f/8, ISO 640.

Music
I used YouTube’s Audio Library system again. I still love the improvements from the old “AudioSwap” system. However, there is one AudioSwap feature that I miss, which doesn’t exist in Audio Library. In AudioSwap, I was able to search for music based on the tempo, which was great for time-lapse videos. I could search “Presto” or “Prestissimo” or some of the other faster tempos, and be given a list of fast-paced songs to choose from. Using Audio Library, you can filter music based on Genre, Mood, Instrument, Duration, and Attribution requirements. It’s not bad, but I do find it takes a bit longer to find a suitable song. For this video, I chose “All My Shuffling” by Silent Partner (2:05) and “Canal 3” by Quincas Moreira (2:00).
Post-Processing
I shared in the last video that I used Davinci Resolve for the video processing. In the time since the last video, I had forgotten how to do many of the simple edits. Thankfully there were several instructional YouTube videos at my fingertips to get me back up to speed. I still think it’s a fantastic video editor and will continue using it when I have video projects. As I had said before, I’m sure I barely scratched the surface of its capabilities. I used it for basic cutting and compounding of clips, replacing audio, adding a couple photos and text, and some video and audio fading.

Conclusion
Thanks again for coming to check out our LEGO speed build time-lapse progress. We have one more video planned (It’s the Millennium Falcon from “Solo”) then we’ll probably move on to a new project. I’ll likely treat the final post as a round-up of everything I learned along the way. As always, if you have any thoughts or advice, please feel free to contact me directly, or leave a comment below.
James is a part-time photographer in Ponte Vedra, Florida, and creator of jamesvernacotola.com. He does freelance work for corporate clients and for Jacksonville.com, but his favorite gig is covering his kids’ sporting events as a parent with a camera.
